You’ve got a domain, you’ve got hosting, and WordPress is installed (we covered all that in Part 2). Now comes the moment that makes a lot of business owners freeze: you log in for the first time, see a screen full of menus and panels, and think “…now what?”
Take a breath. The WordPress dashboard looks busier than it is. By the end of this post you’ll know how to log in, what every item in that menu does, and which handful of things you’ll actually use day to day. It’s far friendlier than it first appears — I promise.
📚 This is Part 3 of my “WordPress Zero to Hero” series. A 10-part, plain-English path from “what is WordPress?” to confidently running your own site. You can see every part of the series here — bookmark it and follow along.
How to log in (your “back door”)
Every WordPress site has a private login page. You reach it by adding /wp-admin to the end of your web address:
- Type yourbusiness.com/wp-admin into your browser.
- Enter the username and password you set when the site was installed.
- Tick “Remember Me” on your own computer so you don’t have to do this every time.
That’s the door only you (and people you trust) walk through. Bookmark it. If you ever forget your password, the “Lost your password?” link emails you a reset — which is exactly why the admin email on your site needs to be one you actually check.
The lay of the land
Once you’re in, you’ll see the dashboard. There are three areas to notice:
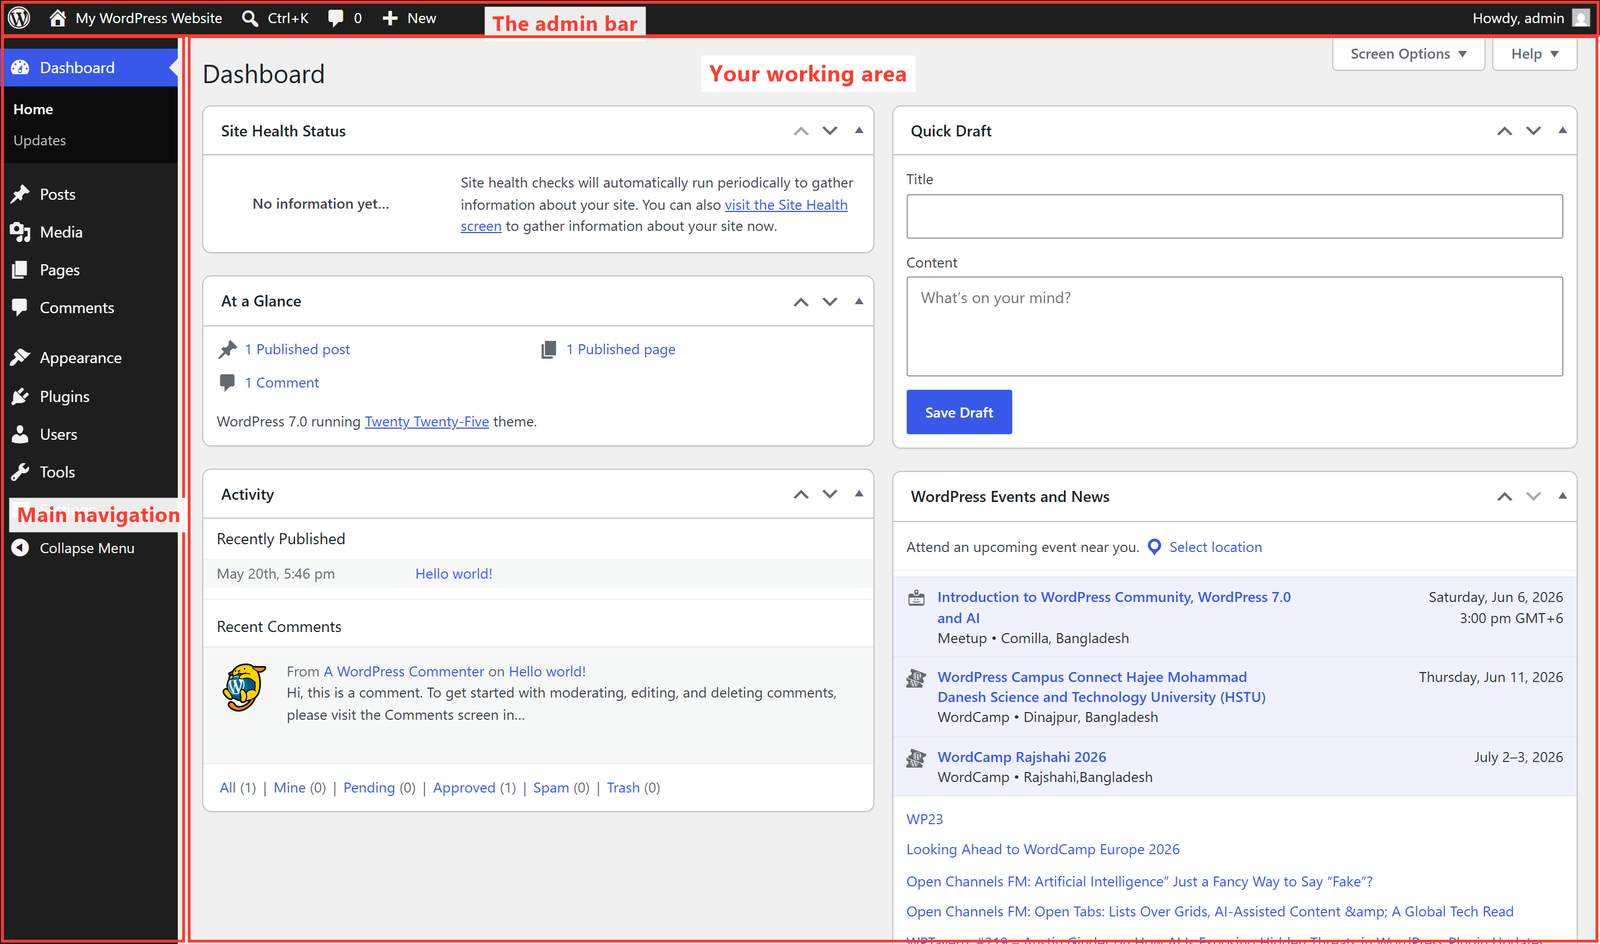
- The left-hand menu — your main navigation. Everything you manage lives here.
- The top admin bar — quick links, including “Visit Site” to flip to the public view, and your account on the far right.
- The main work area — this changes depending on what you click in the left menu.
A plain-English tour of the left menu
Here’s what each main item is for. You won’t use all of them often — I’ll flag the ones that matter most.
- Dashboard — the home screen with at-a-glance summaries. Nothing to fear here.
- Posts ⭐ — your blog articles (news, updates, guides like this one).
- Media — your library of every image, PDF, and video you’ve uploaded.
- Pages ⭐ — your fixed pages: Home, About, Services, Contact.
- Comments — reader comments to approve, reply to, or bin.
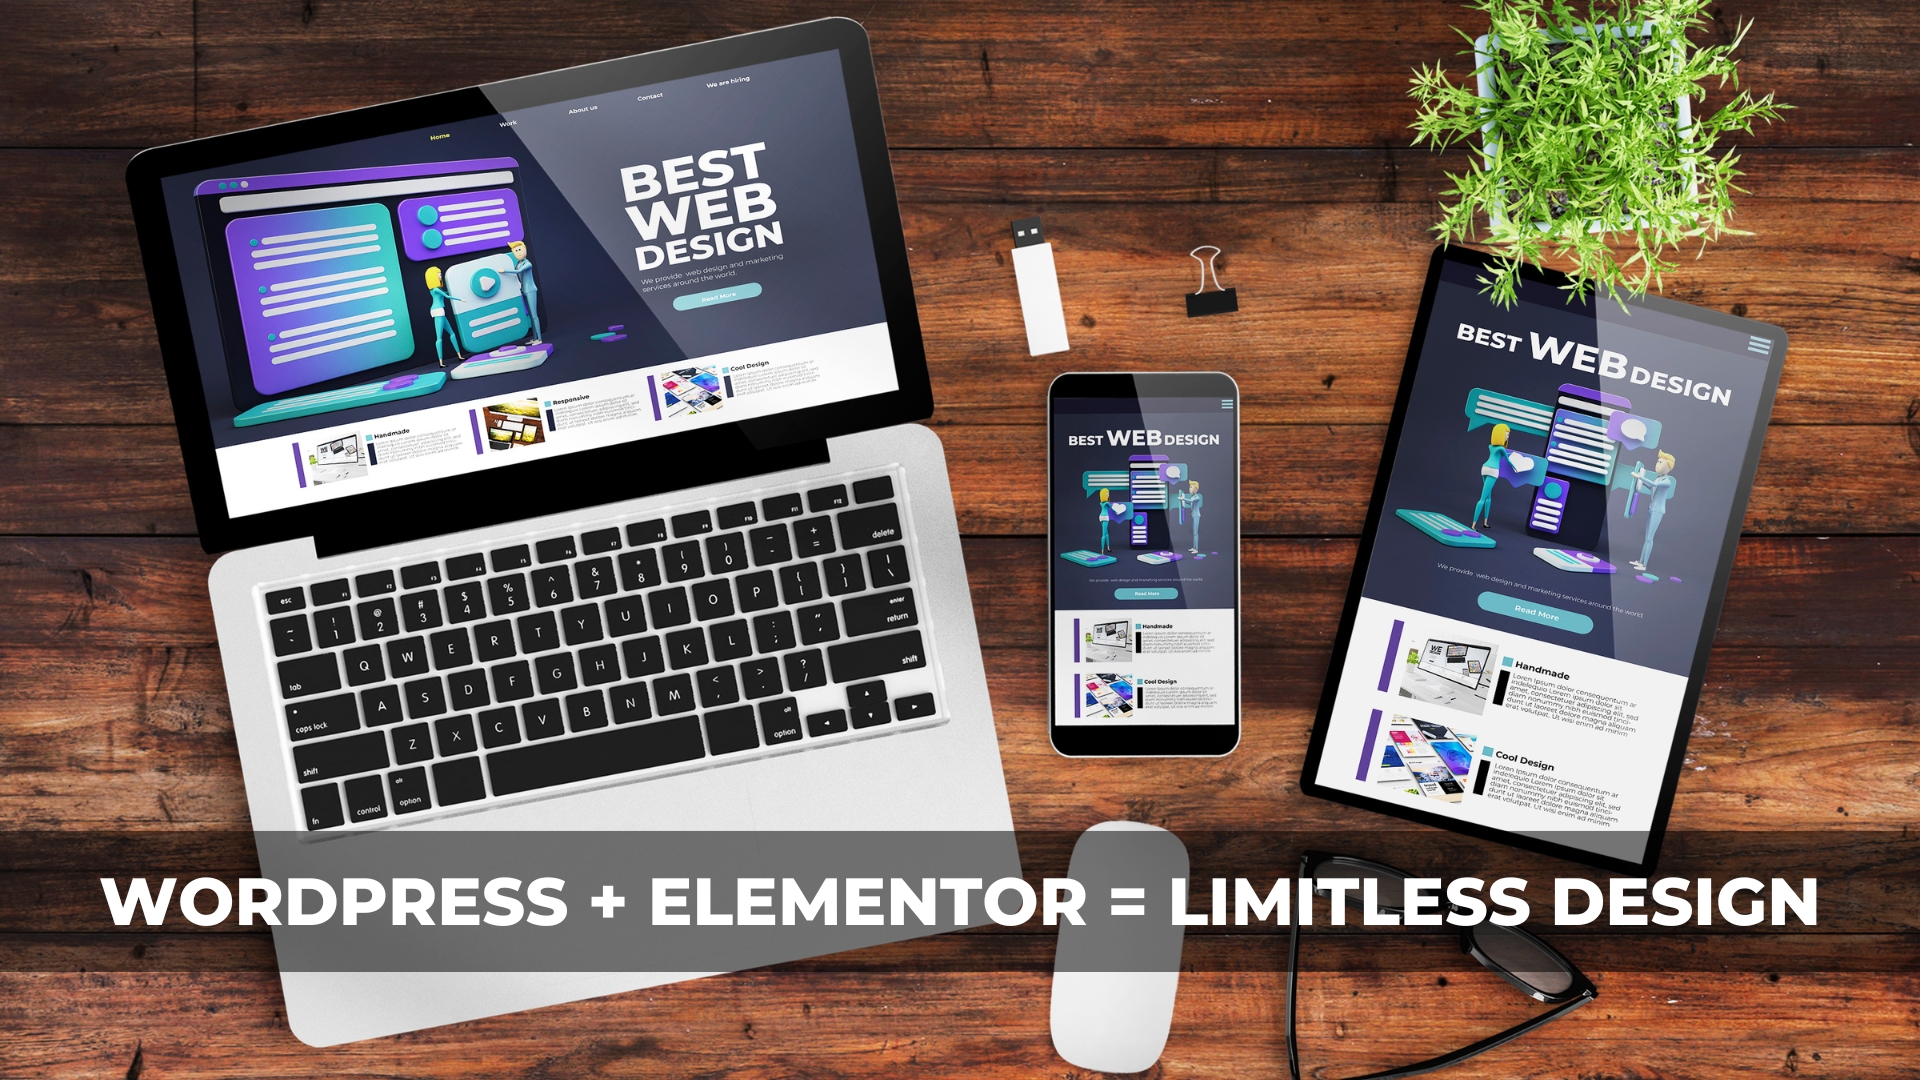
- Appearance ⭐ — how your site looks: themes, menus, and design (Part 4 and Part 5).
- Plugins ⭐ — add-ons that give your site new features (Part 6).
- Users — the people who can log in, and what they’re allowed to do (Part 9).
- Tools — occasional utilities like import/export. You’ll rarely visit.
- Settings ⭐ — your site’s core options: title, tagline, timezone, and more.
Notice that plugins add their own items to this menu. Install an SEO plugin or a contact-form plugin and a new entry appears. So if your menu looks longer than the list above, that’s normal — it just means your site has some add-ons installed.
The five-minute first-day setup
If you do nothing else on day one, do this. Go to Settings → General and set three things:
- Site Title — your business name. It shows in browser tabs and search results.
- Tagline — a short line about what you do (or leave it blank rather than keep the default “Just another WordPress site”).
- Timezone — set it to your location so scheduled posts and comments show the right time.
Click Save Changes at the bottom — and get used to that button. In WordPress, nothing is saved until you click Save or Update. That single habit prevents most “I lost my work!” moments.
⚠️ You really can’t break it by clicking around. New site owners are terrified of touching anything. Relax — nothing is published until you choose to publish it, and nothing is saved until you hit Save. Exploring menus, opening screens, and looking around does no harm at all. Curiosity is how you learn this.
Two hidden helpers worth knowing
Look at the very top-right of most admin screens and you’ll spot two small tabs:
- Screen Options — lets you show or hide parts of the current screen, so you can declutter what you don’t use.
- Help — WordPress’s own built-in guidance for whatever screen you’re on.
Most people never notice these for years. Now you know.
🚀 Practise without any risk: Open playground.wordpress.net and you’ll land in a real dashboard exactly like the one above. Click every menu item. Open Settings. Poke around. Nothing you do is public or permanent — it’s the perfect place to build confidence before touching your live site.
What’s next in the series
Now that the dashboard feels less like a cockpit and more like a control panel you understand, it’s time to make your site look like yours. In Part 4, I’ll explain themes versus page builders (and where Elementor fits) — the part that controls your site’s whole design. Follow the full series here.
Would you rather someone just set all this up correctly from day one — logins, settings, and a site you can actually manage? That’s what I do for clients every week. See how I can help — or just reach out and say hi.